Customising preso creation
Related links:
In this guide, you will learn how to create fields on the preso creation page, and generate & update the context - allowing users to further customise their presos, and giving us a place to store the results of those fields.
Fieldsets in the LivePreso app:
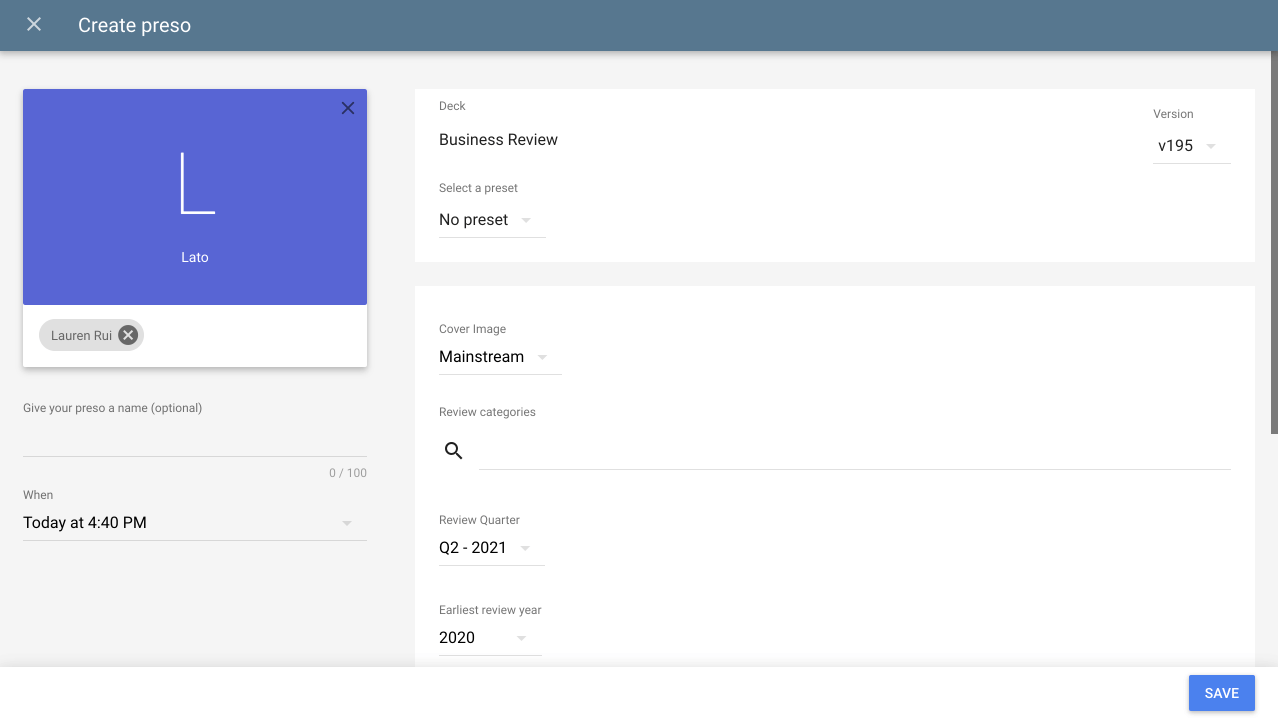
The bottom right area of this page is what we'll be customising in this guide.
Adding fieldsets interface to hooks
Let's set it up so that the CDK and LivePreso recognise that you want
to deal with fieldsets. First you will want to create a hooks file, use
the hooks object in the project.yaml to define where in your deck your
hooks.js file is located.
project.yaml
hooks: js/hooks.js
Second, we'll need a fieldsets file. In general, you place this
in js/hooks/fieldsets.js. To this file you will add the bare minimum
for fieldsets to be loaded.
fieldsets.js
export default function (options) {
	const { Fieldset } = options;

	return new Fieldset({});
}
hooks.js
Going back to our hooks.js file, you need to export the hook:
import Fieldsets from "./hooks/fieldsets.js";

export default {
	fieldsets: Fieldsets,
};
That's it! The CDK and LivePreso now read fieldsets.
Before we get stuck into adding fields to our preso creation page, we are going to need somewhere to save the captured information. This is where the context comes in!
Generating the context
The context is almost entirely generated by fieldsets, and is only
added to as your deck needs it. Modifying context can be
done globally on three separate events: onLoad, and onSave, at least
while there are no fields available.
export default function (options) {
	const { Fieldset } = options;

	return new Fieldset({
		onLoad() {
			return {
				context: {
					onLoadField: true,
				},
			};
		},

		onSave() {
			return {
				context: {
					onSaveField: true,
				},
			};
		},
	});
}
If you test this in the CDK or LivePreso app, you will notice on load the
onLoadField key has been added to the context. When you press Run
(analogous to pressing save in the preso create screen), it will add the
onSaveField key to the context as well.
Note how the context in each function is merged together, rather than
overwriting each other.
The result of our context after save is:
{
	"fields": {},
	"onLoadField": true,
	"onSaveField": true
}
Populating the context on preso creation
Now that you know how to add context, it's probably a good idea to start adding useful information to your presentations. Each function exposed by fieldsets exposes an object containing useful information about the state of fieldsets and the preso at different stages of its creation. From field state, to customers and contacts selected, this can be used to create useful context.
Let's make use of data associated with the appointment - specifically adding the names of the contacts to our context, as this is something that might be done often.
export default function (options) {
	const { Fieldset } = options;

	return new Fieldset({
		onSave({ data }) {
			return {
				context: {
					attendees: data.contacts.map((contact) => contact.fullName),
				},
			};
		},
	});
}
Generally it's best to only add the data you need into your context, keeping it simpler to navigate and access what you need.
Now if you were wanting to access to the list of your attendees in your presentation, you could use:
Bridge.Context.get("attendees");
See the fieldsets options reference for more information on the data available, and the sharing data between slides guide on how to use the context within your presentation.
Adding a field
Although automatically required context on initialization and save like above is extremely useful (and for the case of some decks, all you'll need), there are times you wish for dynamic data added during presentations. Let's add a basic example:
export default function (options) {
	const { Fieldset, Input } = options;

	return new Fieldset({
		fields: [
			new Input({
				name: "customerID",
				label: "Customer ID",
			}),
		],
	});
}
You'll notice that all the interfaces needed to generate fieldsets
comes from the options passed into the fieldsets function. These
options contains other types of fields as well, that work fairly
similarly. It's very easy to add new inputs.
Accessing events for a field
Sometimes you want to have more granular access to your fields, so all
of the global methods are available on each field instance as well -
with an added value key accessible in the method options.
export default function (options) {
	const { Fieldset, Input } = options;

	return new Fieldset({
		fields: [
			new Input({
				name: "customerID",
				label: "Customer ID",
				onLoad() {
					return {
						context: {
							customerIDLoaded: true,
						},
					};
				},

				onSave() {
					return {
						context: {
							customerIDSaved: true,
						},
					};
				},

				onChange({ value }) {
					return {
						context: {
							customerID: value,
						},
					};
				},
			}),
		],
	});
}
If you fill out the input, you'll notice the context updates on each key press with the value of that input. After pressing save, you would see the context as the following:
{
	"fields": {
		"customerID": "Your input here"
	},
	"customerIDLoaded": true,
	"customerID": "Your input here",
	"customerIDSaved": true
}
Once fields are added to your fieldset, the use of the global onChange
method can give you the ability to change context and state on any
field's value change.
Meddling with state
Sometimes you want to change the state of the fields... whether you
want to change their value, disable them, or completely change the
values in a select input. Doing this blindly would be confusing if not
for the form state window in the CDK. Viewing the state of the
previous input shows the following:
{
	"fields": {
		"customerID": {
			"value": "Your input here",
			"disabled": false
		}
	},
	"errors": {}
}
Everything inside the fields object is what we can modify. In this case, we can change the inputs value or whether it's disabled or not, and adding state changes are easy.
Let's make it so that if you write "hello" in the input, the input is disabled.
export default function (options) {
	const { Fieldset, Input } = options;

	return new Fieldset({
		fields: [
			new Input({
				name: "customerID",
				label: "Customer ID",

				onChange({ value }) {
					if (value.toLowerCase() === "hello") {
						return {
							state: {
								customerID: {
									disabled: true,
									value: "I've been disabled!",
								},
							},
						};
					}
				},
			}),
		],
	});
}
You'll see that the state has been changed after finishing typing in the word "hello":
{
	"fields": {
		"customerID": {
			"value": "I've been disabled!",
			"disabled": true
		}
	},
	"errors": {}
}
All state changes can be worked out this way, and made both through global events and per-field events.
Using set()
Sometimes you want to modify the state of the fieldset during an asynchronous task - for example
while fetching data about a customer you might want to hide fields, set them to disabled, or show a
spinner to the user. In this case you can use the set function from the options.
export default function (options) {
	const { Promise, Fieldset, Input } = options;

	return new Fieldset({
		onCustomersChange({ set }) {
			set({
				state: {
					customerID: { loading: true, disabled: true, value: "" }
				}
			});

			// Pretend request
			const fakeRequest = Promise.delay(4000).return(123);

			return fakeRequest.then((customerID) => ({
				state: {
					customerID: {
						loading: false,
						disabled: false,
						value: customerID
					}
				}
			}));
		},
		fields: [
			new Input({
				name: "customerID",
				label: "Customer ID",
			}),
		],
	});
}
Validation
Sometimes you want to validate your inputs, and not allow the preso to
be saved until the issue is resolved. This can be done with the
onValidate method that is available globally and to each field.
export default function (options) {
	const { Fieldset, Input, Select } = options;

	return new Fieldset({
		fields: [
			new Input({
				name: "field1",
				label: "Field 1",
				onValidate() {
					return {
						errors: ["Unknown error"],
					};
				},
			}),
			new Select({
				name: "field2",
				label: "Field 2",
				options: [
					{ label: "Option 1", value: "option1" },
					{ label: "Option 2", value: "option2" },
				],
			}),
		],
		onValidate() {
			return {
				errors: {
					field2: ["Error 1", "Error 2"],
				},
			};
		},
	});
}
Note that the onValidate method for a field does not require a name,
it automatically assumes the validation for itself. If you were wanting
to check multiple fields however, the global method might be more
straightforward, but the name of the field must be added.
Also note that you can have multiple error reasons.